Direct answer
A deep cleaning checklist is essential to ensure thorough and effective cleaning, preventing overlooked areas that can harbor dirt and germs. Without a structured approach, important tasks may be missed, leading to unsanitary conditions and potential health risks. Using a deep cleaning checklist helps organize the process, ensuring every surface and corner is addressed systematically. This direct solution reduces the risk of incomplete cleaning and improves overall hygiene, making your space safer and more pleasant.
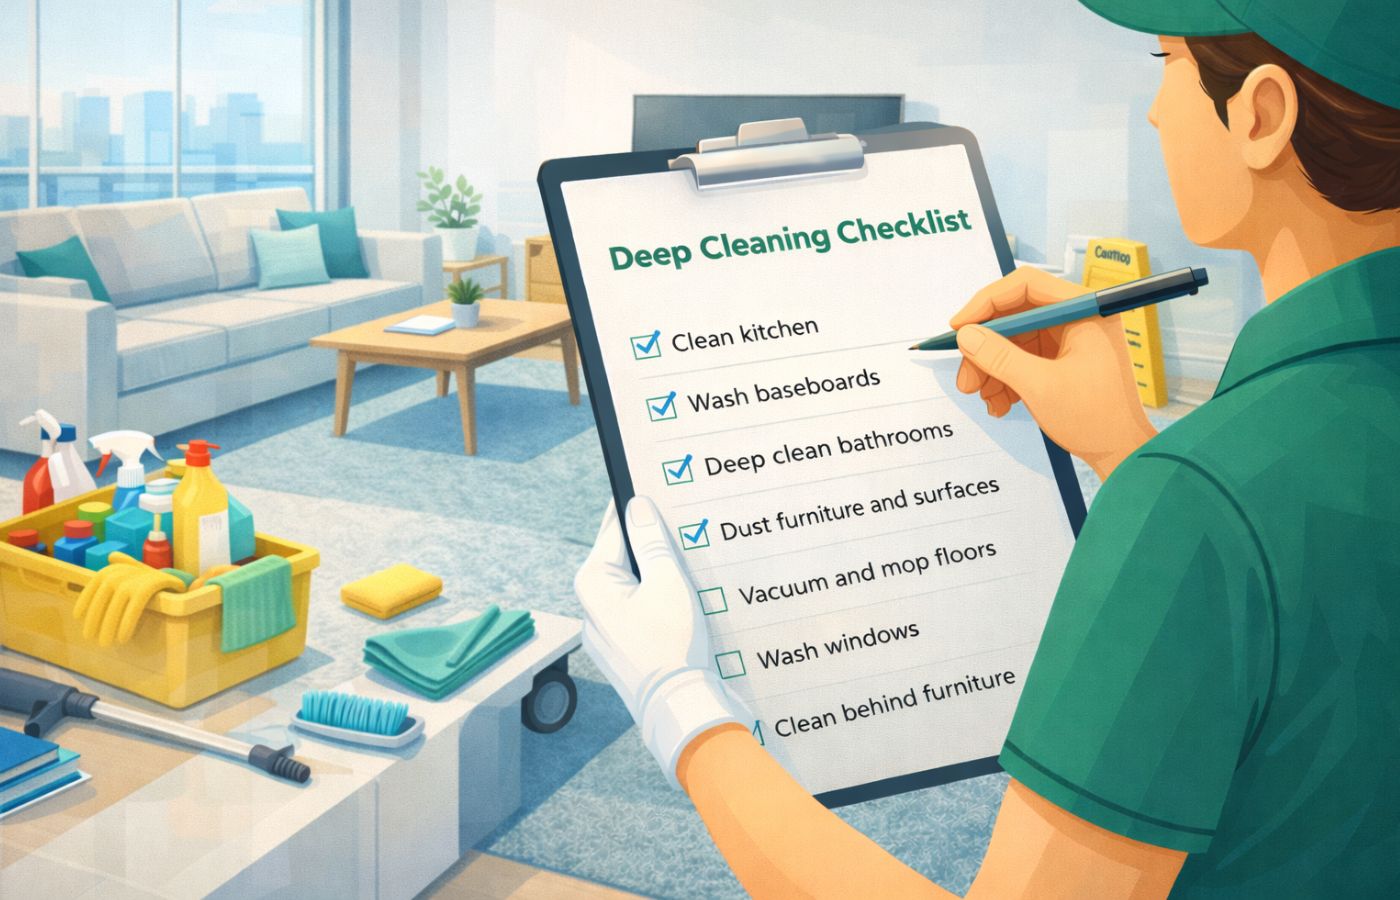
Quick checklist
- Prepare all cleaning supplies and protective gear before starting the deep cleaning checklist.
- Remove clutter and debris from the area to ensure full access to surfaces.
- Dust and vacuum all surfaces, including hidden and hard-to-reach spots.
- Apply appropriate cleaning agents to different materials following the deep cleaning checklist instructions.
- Scrub and wipe surfaces thoroughly, paying attention to corners and edges.
- Rinse and dry all cleaned areas completely to prevent residue and moisture damage.
Requirements and materials
- Item: Microfiber cloths. Used for: gently removing dust and dirt without scratching surfaces. Outcome: ensures effective cleaning while protecting delicate materials.
- Item: All-purpose cleaner. Used for: dissolving grease and grime on various surfaces. Outcome: helps achieve a thorough clean and prevents buildup.
- Item: Scrub brushes with soft bristles. Used for: loosening stubborn dirt in corners and textured areas. Outcome: improves cleaning reach and effectiveness without damage.
- Item: Protective gloves. Used for: safeguarding hands from harsh chemicals and dirt. Outcome: maintains user safety and hygiene during the deep cleaning process.
Comparison and decision matrix
- Option: Basic deep cleaning checklist. What it means: A simple list covering essential cleaning tasks. Recommended approach: Use for routine cleaning with low complexity. Watch-out: May overlook less obvious areas needing attention.
- Option: Detailed room-by-room checklist. What it means: Comprehensive tasks tailored to each room's needs. Recommended approach: Choose for thorough cleaning sessions or special occasions. Watch-out: Can be time-consuming and overwhelming if not prioritized.
- Option: Customized checklist with frequency and priority levels. What it means: A tailored list that includes task frequency and importance ratings. Recommended approach: Best for managing regular maintenance and deep cleaning cycles. Risk: Requires initial setup and regular updates to stay effective.
Step-by-step process
- Action: Prepare cleaning area. Object: entire workspace. Method: gather all necessary tools and materials from the deep cleaning checklist. Outcome: ensures efficient workflow and reduces interruptions.
- Action: Remove clutter. Object: surfaces and floors. Method: clear items and debris manually or with a vacuum. Outcome: exposes all areas for thorough cleaning and prevents missed spots.
- Action: Dust surfaces. Object: furniture, shelves, and fixtures. Method: use microfiber cloths or dusters following the deep cleaning checklist. Outcome: eliminates dust buildup and improves air quality.
- Action: Clean surfaces. Object: countertops, walls, and appliances. Method: apply appropriate cleaners and scrub as per the deep cleaning checklist. Outcome: removes stains, grime, and bacteria effectively.
- Action: Sanitize high-touch areas. Object: doorknobs, switches, and handles. Method: use disinfectants recommended in the deep cleaning checklist. Outcome: reduces risk of germ transmission and maintains hygiene.
- Action: Inspect and finalize. Object: cleaned areas. Method: review each section against the deep cleaning checklist criteria. Outcome: confirms completeness and quality of the cleaning process.
What to avoid
Using unsafe tools, improper methods, or shortcuts in your deep cleaning checklist can lead to damage, incomplete cleaning, or health risks. These poor choices often skip essential steps or apply harsh chemicals that harm surfaces or indoor air quality. To ensure effective and safe results, avoid these pitfalls and opt for proven, gentle alternatives that protect your environment and deliver thorough cleanliness.
- Avoid: Using abrasive cleaners on delicate surfaces. Why it is risky: Can cause scratches and permanent damage. Safer alternative: Use pH-neutral, surface-appropriate cleaners.
- Avoid: Skipping dust removal before wet cleaning. Why it is risky: Dust can smear and embed deeper into surfaces. Safer alternative: Always dust or vacuum first to remove loose debris.
- Avoid: Overusing chemical disinfectants. Why it is risky: May cause respiratory irritation and surface degradation. Safer alternative: Use disinfectants as directed and opt for natural alternatives when possible.
- Avoid: Rushing the process by skipping drying steps. Why it is risky: Trapped moisture can lead to mold growth and damage. Safer alternative: Allow adequate drying time between cleaning stages.
Common mistakes and risks
- Neglecting the deep cleaning checklist causes missed spots and leads to incomplete sanitation.
- Using excessive cleaning agents creates residue buildup that increases surface damage over time.
- Skipping proper drying steps leads to moisture retention which causes mold growth and odor issues.
- Reusing dirty tools spreads contaminants and results in worse cleaning outcomes and cross-contamination.
Scenario-specific guidance
When using the deep cleaning checklist, adapt your approach based on the environment and materials involved. For delicate surfaces, use gentler cleaners and avoid abrasive tools. In high-traffic areas, prioritize thorough dust and debris removal before deep cleaning. If time or resources are limited, focus on critical zones like kitchens and bathrooms. Roles also influence the process: professionals may use specialized equipment, while homeowners can rely on standard supplies. Adjusting the checklist to fit these scenarios ensures effective and safe cleaning outcomes.
Typical ranges and decision points
Typical ranges and thresholds in a deep cleaning checklist vary depending on the environment, cleaning frequency, and level of soiling. These values serve as practical guidance rather than strict rules, as factors like room size, surface type, and cleaning tools affect outcomes. When results fall outside these ranges, adjustments or further action may be necessary to maintain quality and safety.
- Frequency: Deep cleaning every 3 to 6 months. Affected by: foot traffic, environment type, and usage intensity. Action: Increase frequency if visible buildup or odors persist.
- Threshold: Surface dirt level below 5% coverage. Affected by: cleaning method effectiveness and time since last cleaning. Action: Re-clean areas exceeding this threshold to ensure thoroughness.
- Time span: Cleaning duration of 2 to 4 hours per 1000 square feet. Affected by: team size, equipment used, and surface complexity. Action: Allocate more time if surfaces are heavily soiled or intricate.
- Limit: Chemical concentration within manufacturer guidelines (e.g., 1-2% solution). Affected by: product type, surface sensitivity, and safety regulations. Action: Adjust concentration to avoid damage or ineffective cleaning.
When to seek expert help
You should seek expert help when your deep cleaning checklist involves specialized equipment or chemicals, or if you encounter stubborn stains and damage beyond routine cleaning. If the cleaning task requires knowledge of delicate materials or poses health risks, a professional can ensure safety and effectiveness. Additionally, when time constraints or the scale of cleaning exceed your capacity, consulting an expert is advisable to achieve thorough results without causing harm.